Technique is what guides us here. Not because bread is complicated, but because the smallest choices can shape everything that follows.
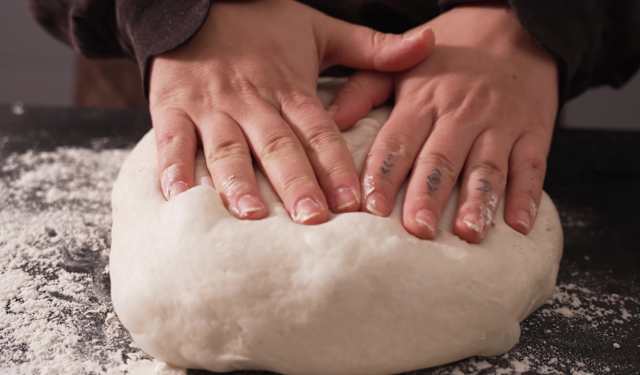
When it comes to folding dough, there’s no need to rush. Gently stretch and fold the dough, giving it time to relax between each round. This helps develop strength and structure, while keeping the dough light and airy.
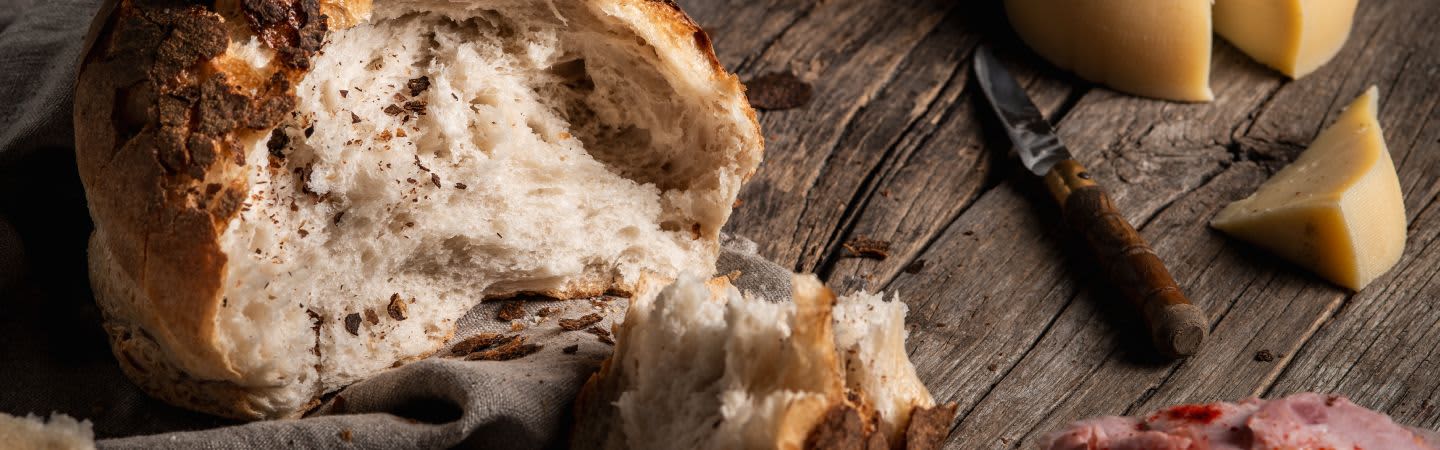
Once the dough is shaped and ready, the oven takes over. Steam helps the loaf rise, while the heat develops a crisp, golden crust and brings out all those wonderful aromas. When it’s baked, give the base a tap - a hollow sound is a good sign that your loaf is ready to cool and enjoy.
Wheat and rye doughs may look similar, but they behave quite differently. Understanding the difference will help you get the best results from each loaf.
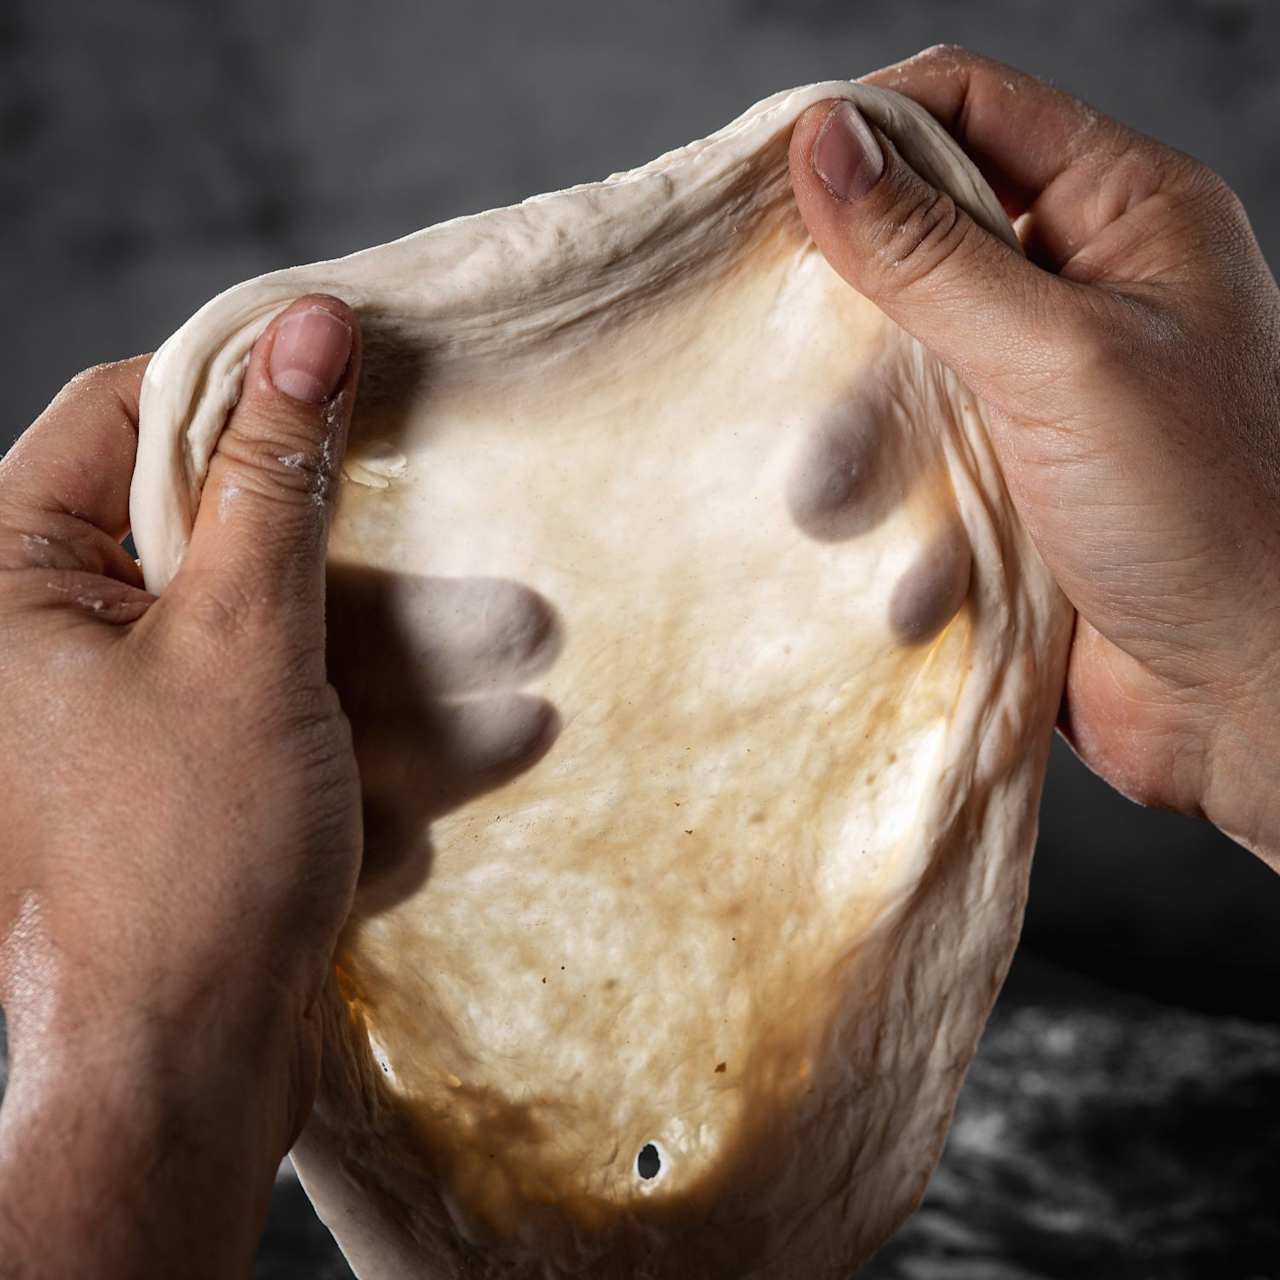
Wheat dough develops a strong gluten network when kneaded, giving it the stretch and structure needed to rise well. To check if it’s ready, take a small piece of dough and gently stretch it. If it stretches into a thin, translucent sheet without tearing, you’ve reached the windowpane stage and the gluten is well developed.
Rye dough behaves differently. It doesn’t develop the same gluten structure as wheat and can be sticky and dense. Rather than intensive kneading, mix it gently and give the flour time to fully hydrate. With rye, patience is more important than kneading.
Wheat
Rye
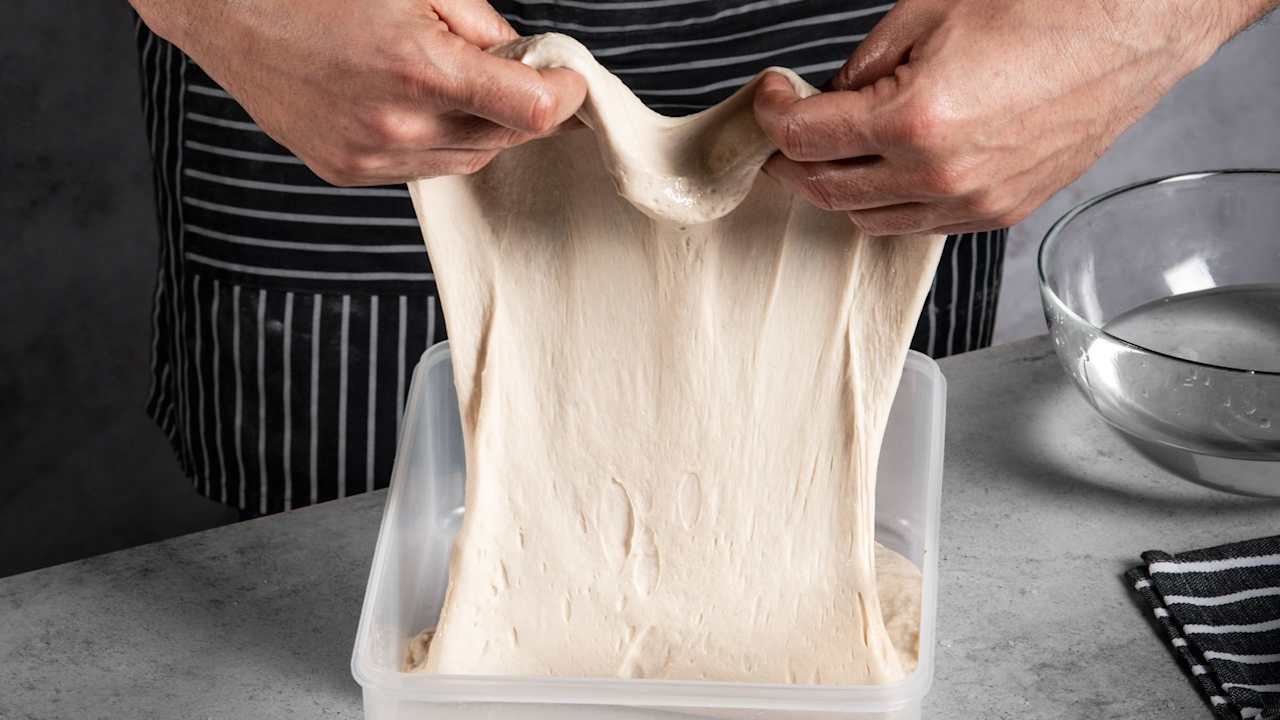
With slightly damp hands, gently stretch and fold the dough from each side, folding it back over itself. Repeat this a few times to build strength and tension in the dough. Once the dough feels stronger and more structured, it’s ready to be shaped into your loaf. Stretch and folds are usually done 4 times every 30 minutes, repeating 4 times. After the final stretch and fold, leave the dough to prove.
As your dough develops, look for:
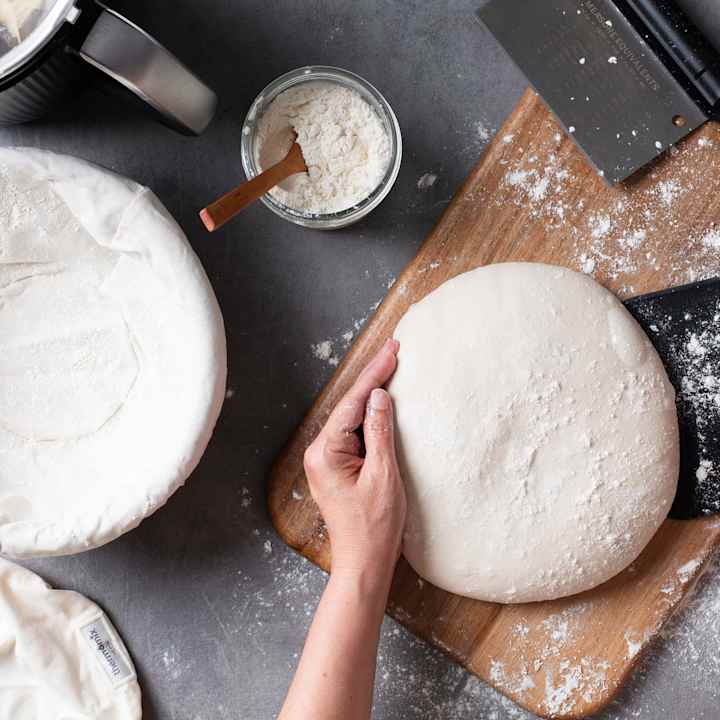
Before shaping, gently tip out dough onto a lightly-floured surface. Be careful not to remove any of the bubbles and structure creating during fermentation.
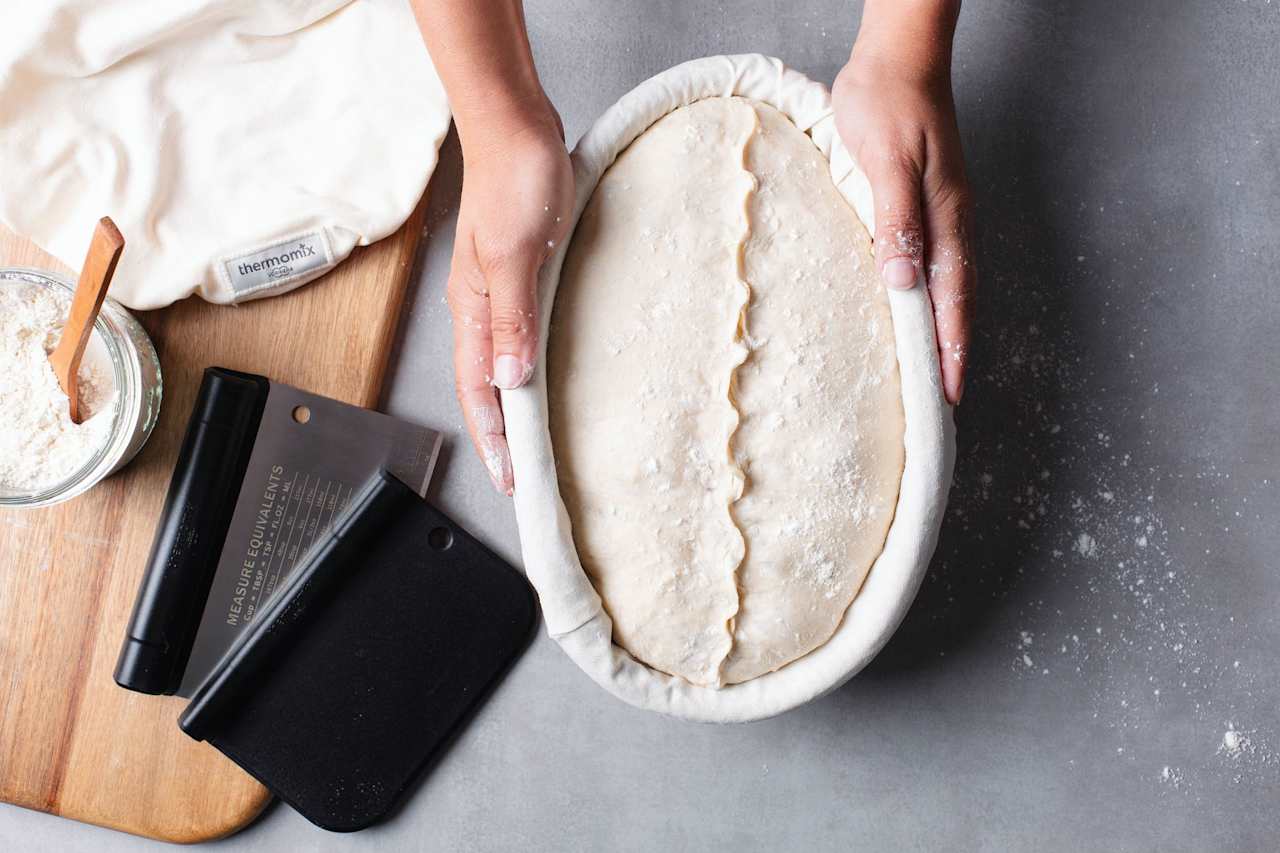
• Seam-up proving → rustic, cracked look.
• Seam-down proving → smoother surface; score before baking to guide expansion.
Scoring isn't just decorative, it gives the dough a controlled place to expand during baking.
Once the dough has proved overnight, tip the dough out using a bread sling and lightly dust the surface with flour.
Use a sharp knife or scoring tool to make a confident cut across the surface. The depth and angle will depend on your design, but avoid repeatedly dragging the blade through the dough.
As you get more confident you can experiment with different designs such as:
If you’re baking on a tray or pizza stone, steam is key to achieving a good rise and crisp crust. Preheat the oven thoroughly, with a metal tray on the bottom shelf. Once the bread is in the oven, carefully add a little water to the hot tray to create steam, then close the door quickly. After 10-15 minutes, carefully release the steam and continue baking until the crust is deep golden and crisp.
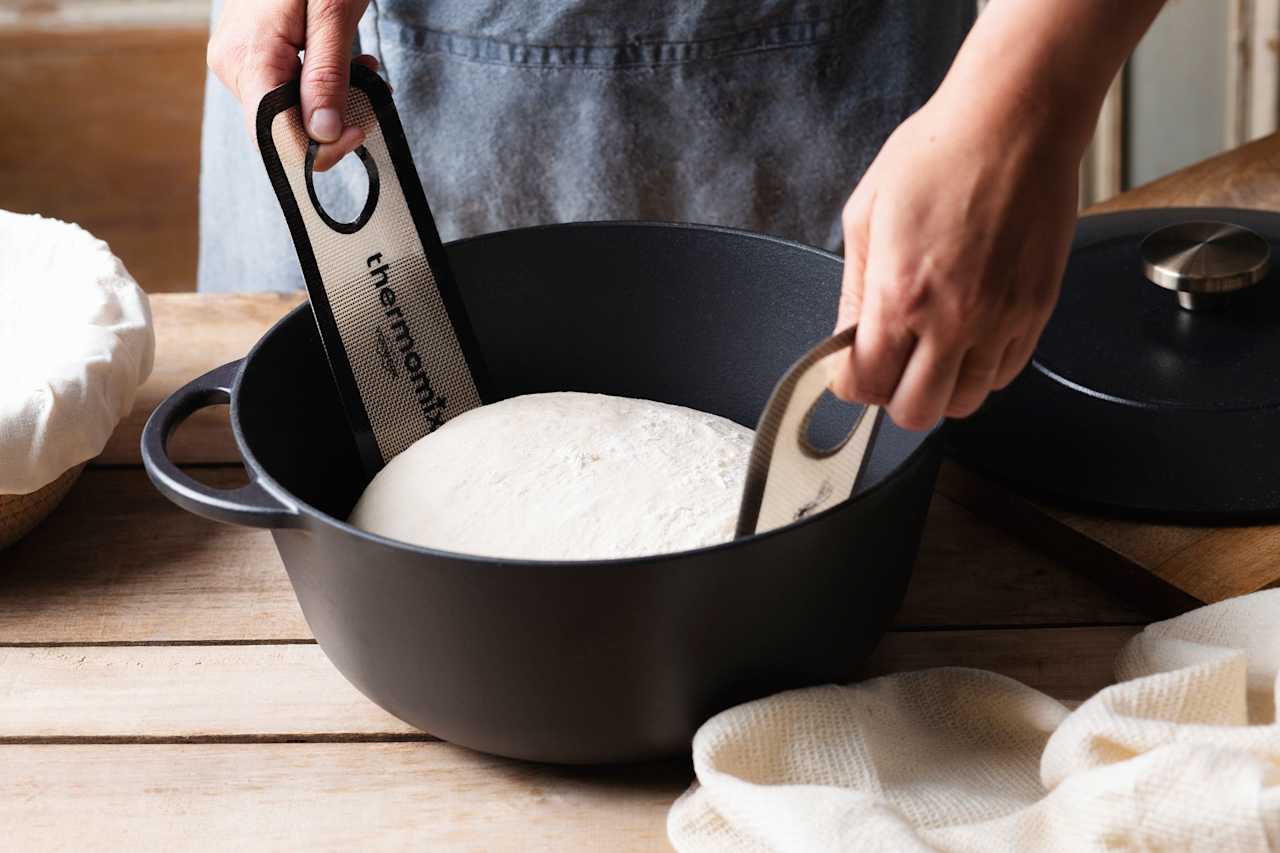
A cast-iron pot is another great option. Preheat the oven and pot thoroughly, then carefully place the dough inside. A Thermomix® Bread Sling makes transferring the dough much easier. Bake with the lid on for around 15 minutes, then remove the lid and continue baking until the crust is nicely browned.
When working with a very hot oven or cast-iron pot, take care and always use oven gloves and a heatproof surface.
Your loaf should have a deep golden brown, crisp crust and feel light for its size. Carefully tap the bottom of the loaf, it should sound hollow. For a more accurate check, use a thermometer; the centre of the loaf should be around 95-99°C when fully baked. Leave it to cool completely before slicing so the crumb has time to set.
Hold back 20-30 g of the recipe water and add it gradually during kneading. This allows you to adjust the dough depending on how much water the flour absorbs, helping you achieve the right consistency without making the dough too loose.
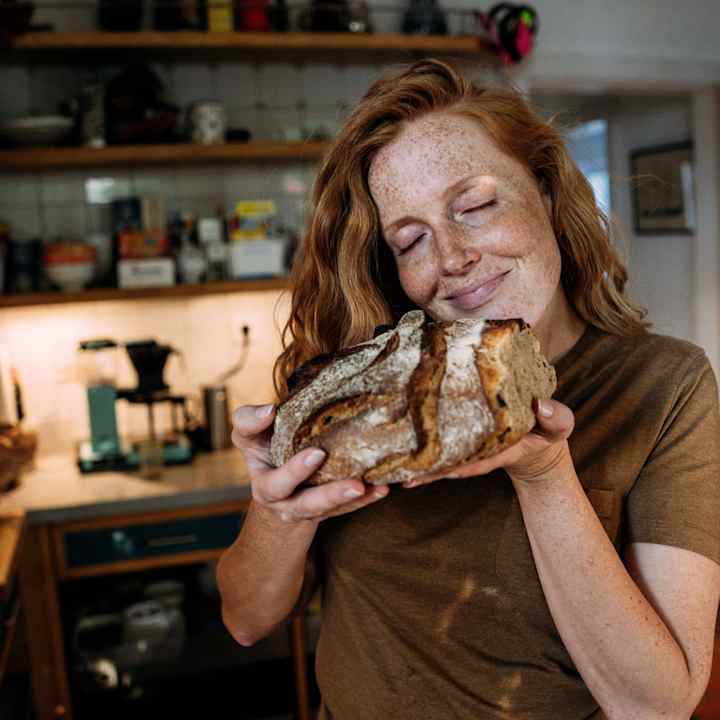
Come a little closer and listen – that's right, it's the crust's song as it cools, a quiet percussion that tells you the loaf has its own voice. When you're mixing, folding, shaping and baking, you begin to find a rhythm that feels like home. And when you tap the base and hear that hollow reply, you'll smile, quietly, with a full heart, knowing that simple care has turned into something you can share. There’s more to discover as the story continues. We’ll be baking again soon.