Unleash precision in your kitchen
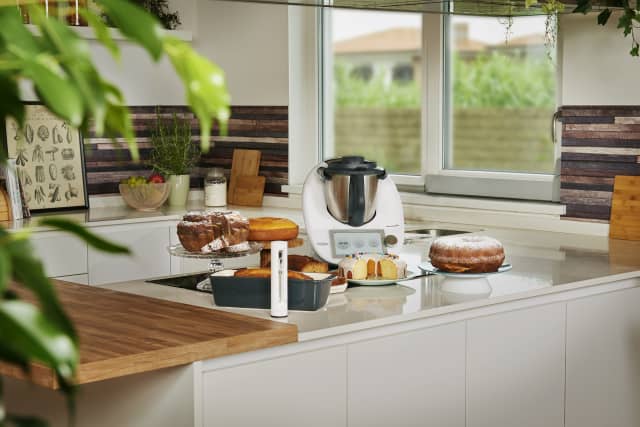
Have you ever dreamed of having the power of precise heat control in your kitchen? Imagine a single touch and everything turns out perfectly – from flawlessly cooked meat and succulent fish to beautifully baked cakes and bread. No more worrying about undercooked meat or burnt cakes. Now, you can make that dream a reality with the new Thermomix® Sensor. Our Thermomix® recipe success guarantee goes beyond the bowl to your entire kitchen! With the help of this wireless food thermometer, you can effortlessly monitor your cooking through the Thermomix® and Cooking Centre app.
● Guaranteed success for recipes made inside and outside Thermomix®.
● Food always cooked to the right stage.
● Comfort of tracking the status on your smartphone.
● Relaxation of not having to monitor and control the result.
Getting started with Thermomix® Sensor is quick and easy (for detailed guidance see the User Manual):
The Cooking Centre allows you to check, from any screen on your Thermomix® TM6 display and at any time during the cooking session, the current cooking status of your recipe step. Whether in Guided Cooking mode or cooking manually, click on the Cooking Centre menu on top of your screen and access:
● Your recipe status: remaining cooking, time, current and target temperature and speed.
● Timer
● Thermomix® Sensor

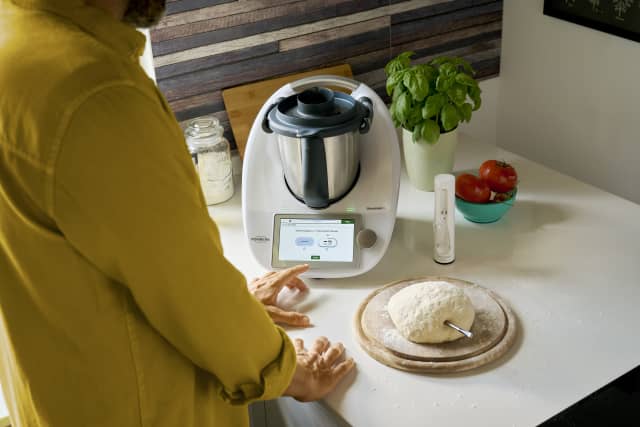
Bread
Insert the Thermomix® Sensor into the dough ensuring the tip is in the core of the dough and the reference notch entirely or close to the dough surface. If the dough is not firm enough to hold it, use a baking tin and the holder to keep the thermometer in place. Make sure the tip of the probe does not touch the baking tin.
Cakes
Use the holder to keep Thermomix® Sensor in the correct position, ensuring the tip of the probe is as close to the centre of the batter as possible.
Beef, pork and lamb
Steaks and chops – insert Thermomix® Sensor horizontally from one side of the steak/cut.
Large cuts of beef, pork or lamb (e.g. roasts) - insert Thermomix® Sensor diagonally from the top.
Cuts with bones - insert Thermomix® Sensor parallel to the largest bone, as close as possible to the bone without touching it.
Poultry
Whole birds - insert the probe in the thickest part of the breast and ensure the probe is not touching the bones.
Breasts - insert the probe horizontally in the thickest part of the cut.
Cuts with bones - ensure the probe is not touching the bones.
Fish
Fillets - insert probe horizontally in the thickest part of the cut.
Whole fish - insert the probe in the thickest part and ensure the probe is not touching the bones.
Thermomix® Sensor is suitable for most of your kitchen appliances: oven, barbecue, oven grills and pans on the stove.

Before cleaning, allow the probe to cool down.
Clean the probe and the holder, before and after every use, with water and washing-up liquid. Do not use cleaning products with alcohol, ammonia, benzene or abrasives as these could damage the device.
Do not place the probe under water for long periods of time.
Before putting it back in the charger, make sure that probe and holder are completely dry.